Using Timely Migration
Within Timely Migration, content is migrated from your source repository to TFS in logical units called sessions. A session defines what you want to migrate, options for how to migrate it, and state regarding what has been migrated or is still scheduled for migration.
The process of performing a migration involves configuring the session and running the session. The Timely Migration product has two main applications to perform each of these tasks.
Below is a brief overview of how to perform a migration using these applications. The steps assume that you have a valid trial or retail license file installed. To acquire a trial license file please send an e-mail to sales@timelymigration.com with the adapter(s) you are interested in.
For detailed steps please see the online documentation here.
Configuring a session
To configure a session, the "Configure a session" Program Files shortcut can be used to launch the MigrationConfig.exe application to create a new or open an existing configuration file.
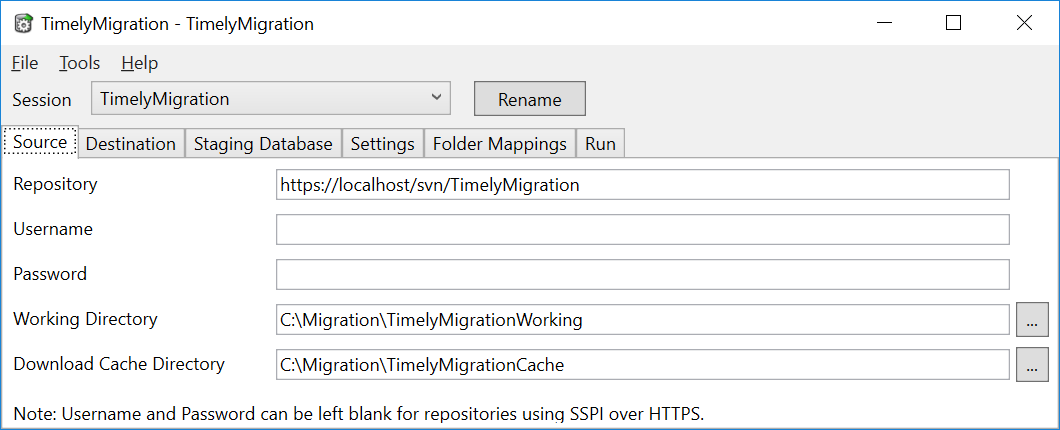
Select the source repository
Once the session configuration file is loaded, the first task is to configure information about the source repository and project within that repository that will be migrated.
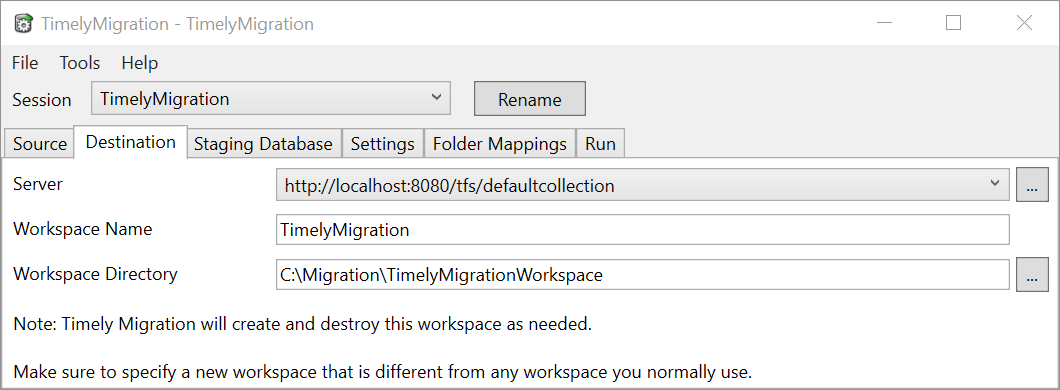
Select the destination TFS repository
Next configure the TFS server you want to migrate content into. Typically migrations are first staged into a non production TFS server to work out how the session should be configured. The TFS project that the content will be migrated into will be specified later.
Select what paths to migrate
The Timely Migration tool operates by matching folder paths in the source repository and scheduling changes under those paths to be migrated. The folder mappings tab allows you to configure which folder paths you want to included, and which folders you want to exclude. If no paths are configured, no changes will be scheduled to be migrated so it is important to make sure that folder mappings are configured.

Note that what are configured are folder paths and not individual folders entities, so if a folder is renamed across two different paths, both paths will need to be configured to migrate changes before and after the rename.
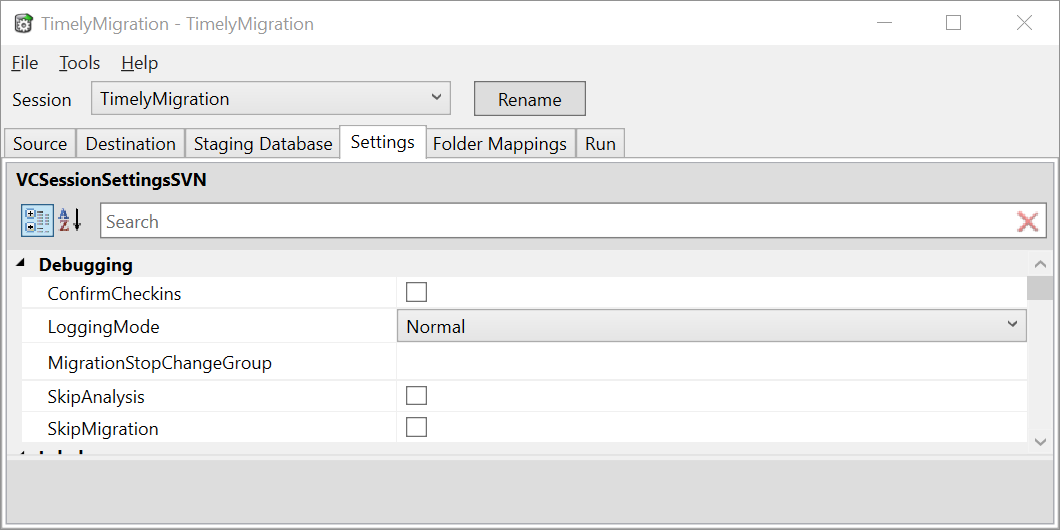
Specify how to migrate your content
For each Timely Migration adapter there are a number of settings which determine how content will be migrated out of the source repository. Some settings are common between all adapters such as identifying which labels should be migrated into TFS, while others such as specifying what Subversion (SVN) folders are used to specify labels are specific to the SVNToTFS adapter.
Running a session
To run a session, the MigrationConsole.exe command line executable is used. To launch MigrationConsole.exe you will need to have a Command Prompt open in the Timely Migration install directory.
Analyze the content
The first phase of running a migration is analyzing the content in the source repository and scheduling items for migration. To analyze the source repository launch MigrationConsole.exe with the path to the configuration file that was created earlier.
Map users
After all of the content is analyzed, it will be checked to see if there is any content from users that need to have their user accounts in the source repository mapped to their user accounts in the TFS repository. Mapping uses consists of opening the user mapping file and specifying accounts that are not mapped and marking that each user mapping was verified.
Migrate the content
Once users are mapped, restart MigrationConsole.exe to continue the session and pick up where it left off to begin migrating the actions that were scheduled for migration.