Git Execution
The following steps are specific to Git destinations and are performed after the session has completed.Garbage Collection
If you are migrating to a repository on your local machine, git gc will automatically be run after the session completes if there was any migrated data. You should not need to run it manually.
If you are migrating directly to a remote repository, the assumption is that you are migrating small deltas after an initial migration and garbage collection isn't needed or that garbage collection is already happening separately as part of maintenance.
.gitignore
Since the structure of your source tree changes over time and the migration is non interactive and has no way to add override individual files,
the .gitignore file that is used for your current working tree may not be suitable for migration and you will need to use an override file, as configured
with the GitIgnoreMode and GitIgnoreOverride settings.
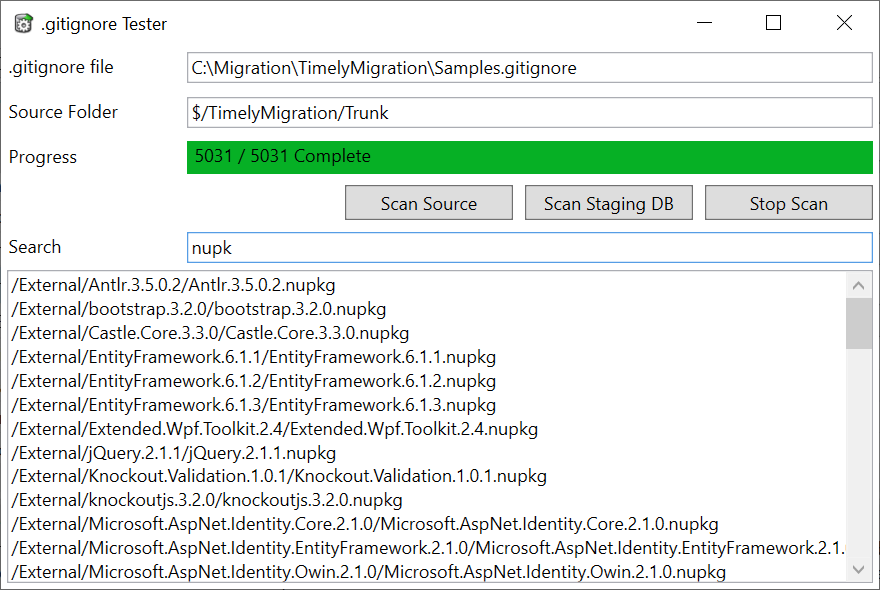
Trying to create appropriate .gitignore rules can take a number of recycles, so instead of having to perform a complete migration to check the output,
a helper tool is provided that will check all of the paths in an analyzed session and display what will be filtered without having to wait for a migration to complete.
To use it, select the "Tools" -> ".gitignore Tester" menu item. The .gitignore file will default to the path specified in the GitIgnoreOverride setting.
Press "Scan Staging DB" to lookup all the paths that were scheduled to be part of the migration and the tool will run each of them through the .gitignore rules
and output the list of matching files. Use "Search" to filter those paths to quickly validate whether the rule changes work as desired.
"Scan Source" is present for adapters that support browsing files and works similarly off of the current list of files in path specified, which is based on the
source path that maps to the root of the master branch in Git. Note that because the underlying .gitignore file is used to check new files that are being added to the Git index,
checking the scheduled session data more accurately reflects what will be filtered during the migration as rename operations would cause rules to be processed against their original
paths and not what they were renamed to.
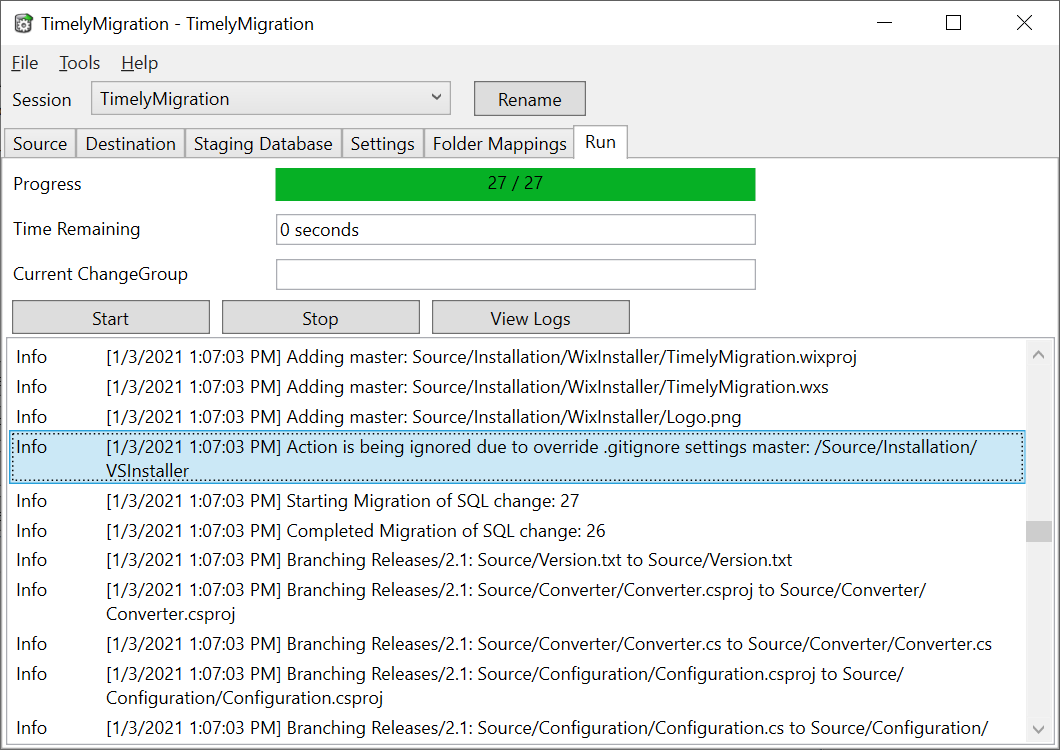
To help identify why a file is being dropped out by .gitignore settings, the log output will indicate which source is causing it to drop out with a message like "Action is being ignored due to override .gitignore settings master: /Source/Installation/VSInstaller" where the source will be one of:
- override
- committed
- both committed and override
Rerunning Migrations
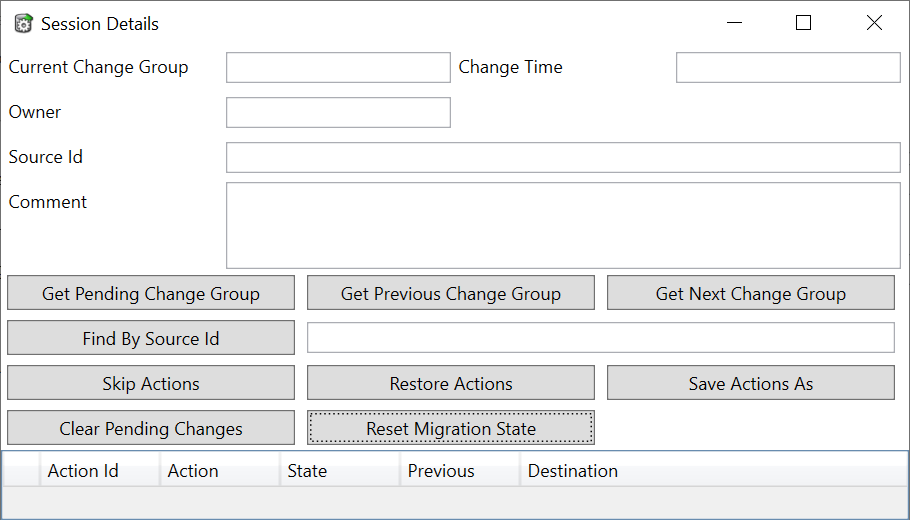
If you are primarily interested in running a new session to test override .gitignore changes, the state of the session in the staging database can be reset to an unmigrated state to restart the session without having to reanalyze source history. The steps for this are:
- Select the "Tools" -> "Session Details" menu item and press "Reset Migration State" as shown below
- Change the "Local Repository" folder in the "Destination" tab so a new repository can be created
- Set the "SkipAnalysis" setting to true
- Start the session on the "Run" tab
Git Large File Storage (LFS)
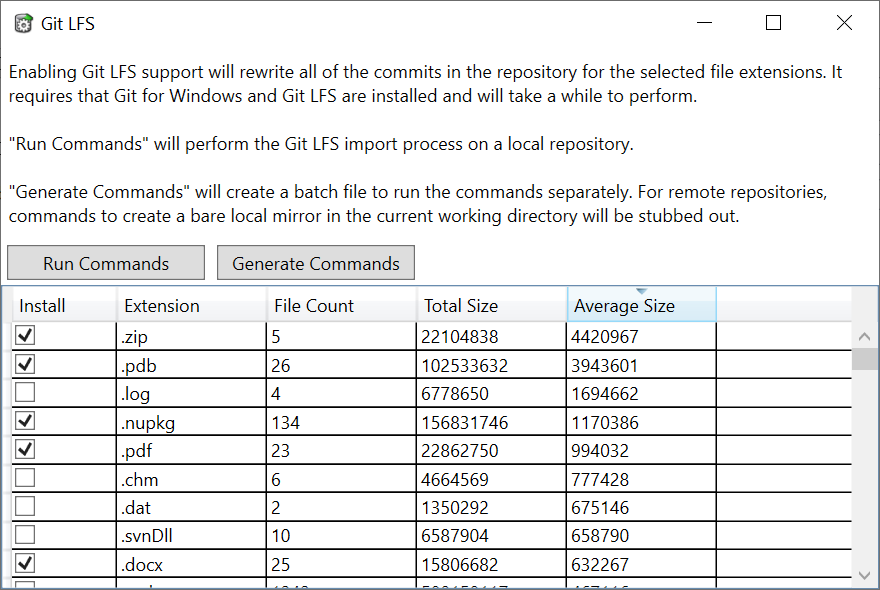
To migrate file data to use Git LFS, the "Tools" -> "Git LFS" menu item can be used to display a summary of migrated file data by extension and select
which extensions you want to migrate to Git LFS. By default various binary file types such as media types, build output, packaging and documents will be selected.
"Run Commands" will launch the Git command line to run the Git LFS import for the selected extensions. Since it can take a while to rewrite the commits to use Git LFS,
the command shell is displayed to let you see the progress. Note that if you specified a remote repository this button will not be enabled.
"Generate Commands" will save out a batch file with the commands to run the Git LFS import.
Push the repository
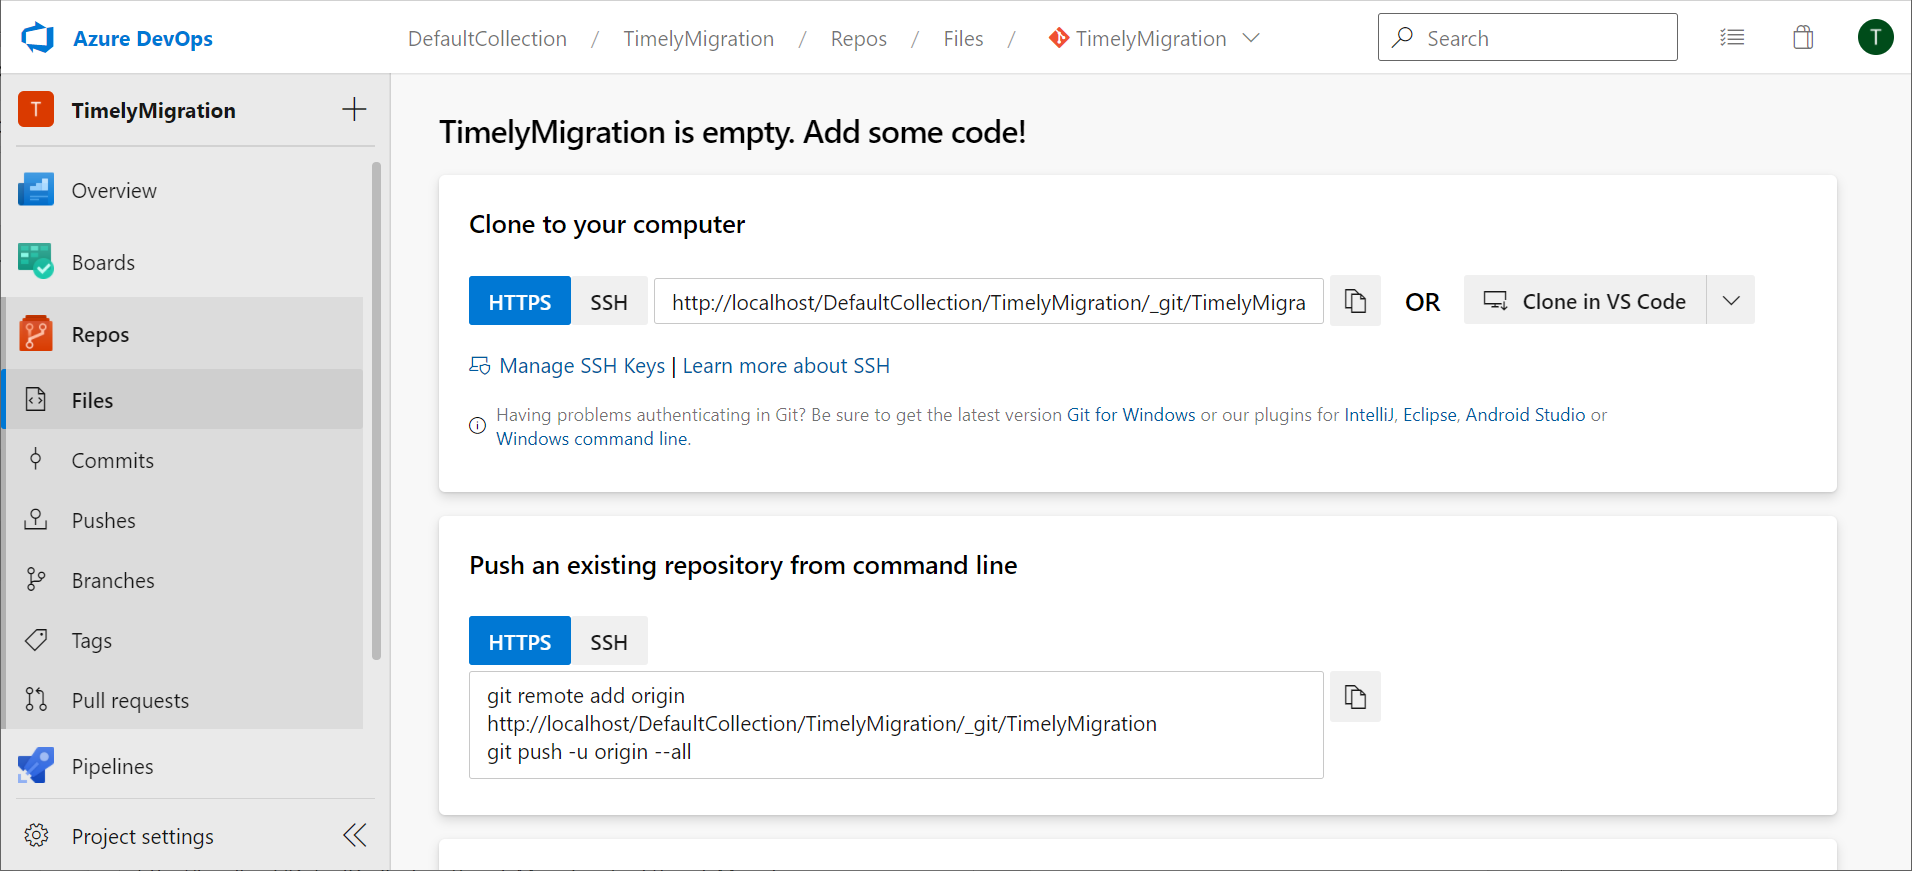
After the session has completed and binary files have been migrated to Git LFS, local repositories should be pushed to your central Git server through the Git command line.
This information should be provided by your Git server. With Azure DevOps, this information is provided on the repositories Files page in the "Push an existing repository
from command line section" section.
Validating Results
This section aims to provide some common examples of what to look for to see how the migration went.
Tip Comparisons
The most basic form of validation is comparing the tips of each of the branches in the source tree which can be performed using your comparison use of choice. For example with Visual Studio and TFVC, Source Control Explorer can be used to compare two local folders as shown below.

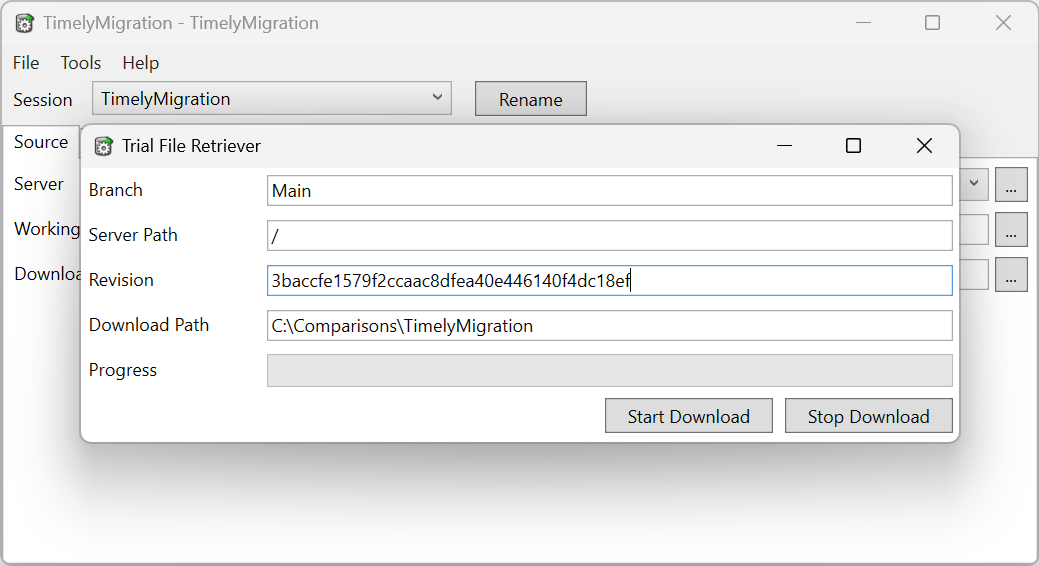
If you are using a trial version of Timely Migration the files checked into Git will have their contents substituted with revision information for the files that will be migrated by the retail product. This will prevent a direct comparison of the files. To enable comparisons, a utility is provided that will retrieve files based on the revision information in the TFS placeholder files and save them to the local disk.
To use the utility, navigate to the Tools -> Trial File Retriever menu item. Then enter the path in Git that you would like to download files from and the local folder to place the files in. The changeset field is optional and can be used to validate historical revision content.
Blame
Blame, which is similar to TFVC annotate, marks up a source file with notes about the revision where individual lines were introduced. This can be used as a rough estimate to see how far back history goes. In contrast to comparing file revision counts, this gives you an idea about whether or not you have the content of all revisions of the file.
Certain sections of code such as comments and include statements at the top of files rarely change. By checking to see whether the commits associated with these sections appear to be the among the earliest commits for the file, you can get a feel for whether or not the content goes back to the beginning of the file. If there is a problem with retrieving the file from the origin source database, a blank file revision may be checked in for the problem revisions. This would cause the early comments to appear as if they were added in the middle or end of the file’s history.